DIY Pet Treat Dispenser Projects | Fun and Functional Ideas for Your Pet
Making your own DIY pet treat dispenser can be a fun and rewarding project that helps keep your furry friends happy and occupied. These step-by-step guide to DIY pet treat dispenser projects let you create interactive dispensers that dispense treats, challenge your pet’s mind, and keep them active. It is a step-by-step guide to DIY pet treat dispenser projects that uses simple materials to provide personalized solutions for your pets.
Why Build a DIY Pet Treat Dispenser?
Store-bought treat-dispensing toys can be pricey and not necessarily tailored to your pet’s likes and dislikes. Making one yourself opens up the opportunity to:
- Make It Your Own: Customize the dispenser for your pet’s size and behavior.
- Repurpose items around the house to save money.
- Encourage Explorations: Get your pet active physically and astutely.
- Keep It Creative: Fashion a dispenser that complements your home decor or your pet’s personality.
DIY Pet Treat Dispenser: What You Need
To get started, you will only need these basic supplies:
- Plastic or paper tubes (e.g., PVC pipes, paper towel rolls)
- The simplest form of vessels are small containers (e.g., bottles, jars)
- Scissors or a craft knife
- Non-toxic glue or tape
- String or rope (optional)
- Paint or decorations safe for pets (optional)
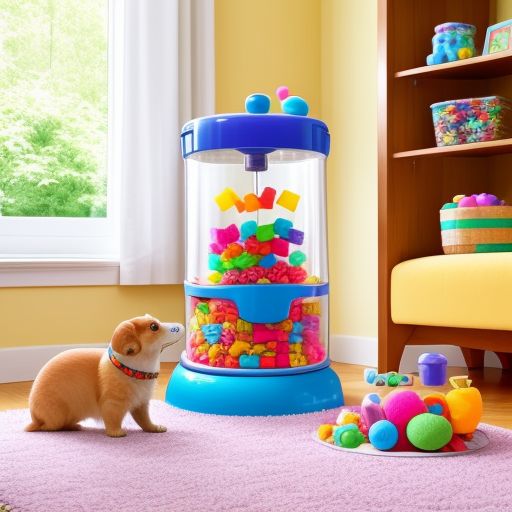
DIY Pet Treat Dispenser: A Step-By-Step Guide to DIY Pet Treat Dispenser Projects
Step 1: Choose a Design
Choose a design that aligns with your pet’s size, activity level, and temperament. Popular designs include:
- Roller Dispensers: Treats come out when the pet rolls the dispenser.
- Puzzle Dispensers: Pets solve a puzzle to reach the treats.
- Hanging Dispensers: Suspended designs promote movement and play.
Step 2: Choose and Prepare Materials
Make your dispenser safe/durable with all pet-safe materials.
Preparation Tips:
- All materials should be washed and dried very well.
- Eliminate sharp edges or labels which could hurt your pet.
- Just cut holes or openings big enough for the treats to get through.
Step 3: Put Together the Dispenser
Here’s how to assemble your dispenser:
- Roller Dispenser:
- Take a plastic bottle or tube and make tiny holes on its surface.
- Make holes that are a bit larger than the treats.
- Stuff the bottle with treats and then put a cap on.
- Allow your pet to roll the bottle around for treats to be dispensed.
- Puzzle Dispenser:
- Use any small box or an airtight container.
- Make different openings and put movable flaps or sliders.
- Put treats in the container.
- Teach your pet to move the flaps or sliders to access the treats.
- Hanging Dispenser:
- Get yourself a strong enough container and drill a few holes around it.
- Tie a string or rope to the top.
- Fill the container with treats and hang it within reach.
- Let your pet slap or push the dispenser for treats.
Step 4: Test and Adjust
When you have completed your dispenser, try it out with your pet to check that it works as you expected.
Testing Tips:
- To get your pet to interact, use their favorite treats.
- Watch your pet use the dispenser and adjust accordingly.
- Make sure the dispenser is strong and clean for multiple uses.
With the dispenser page open, select on ‘Edit’ to personalize your dispenser.
Ideas for Personalization:
- The dispenser can be painted or decorated with pet-safe materials.
- Keep your pet’s name or paw print.
- Decorate with colorful tape or stickers.
Keeping Your DIY Pet Treat Dispenser Up and Running
Regularly wash the dispenser to avoid building residue or crumbs. Check for worn or broken parts, repairing or replacing as needed. Change the designs regularly to keep your pet entertained.
Questions and Answers About DIY Pet Treat Dispenser Projects
What materials are safe to use in creating a treat dispenser?
Safe options include non-toxic plastics, untreated wood, and cardboard. Steer clear of materials that can splinter or break into sharp shards.
I wonder if I can adapt it to make a dispenser for larger dogs.
Yes! Use heavy-duty materials like PVC pipes or large containers so that it lasts longer for your big pets.
What can I do to get my pet to use the dispenser?
Mark on it, then nibble and treat (high-value treats). Offer praise to your pet when they interact with the dispenser.
Are the treats mixable, and can I use the dispenser for wet treats?
Most DIY dispensers are best used for particularly dry treats, so you avoid mess and keep things tidy.
How can I easily make the food dispenser more difficult for my pet?
Include more flaps, sliders, or smaller openings to make it even more challenging.
Conclusion
Step-by-Step Guide to DIY Pet Treat Dispenser Projects: Using this step-by-step guide to DIY pet treat dispenser projects, you can engineer a dispenser customized to your pet’s needs that will add a little extra joy to their day. And of course, there’s extra satisfaction when you make something yourself.
Blog post: DIY pet treat dispenser Followup: What are your designs or tips for making unique dispensers? Let’s share some pawsome ideas to inspire one another!